How to Attach Documents for Leave in Manav Sampada
If you’re applying for leave on the Manav Sampada portal and need to attach documents such as a medical certificate, vacation approval, or any other supporting papers, it’s easy to do. Below is a simple, clear guide to help you with the process.
Log in to the Manav Sampada Portal
Open your web browser and visit the official Manav Sampada portal at ehrms.upsdc.gov.in.
Enter your User ID and Password to log in to your account.
Complete the CAPTCHA and click on the Login button to access the portal.
Go to the Leave Application Section
Once logged in, you will be on your dashboard. Follow these steps to apply for leave:
Select the Type of Leave
Attach Supporting Documents
In most cases, leave types like Sick Leave or Special Leave require supporting documents like a medical certificate or travel documents. Here’s how to attach them:
Look for the Attach Documents or Upload Documents option in the leave application form.
Click on the Browse or Choose File button, depending on your browser.
Select the file(s) you want to upload. The file should be:
The file size should not exceed the limit set by the portal (typically around 1MB to 5MB, depending on the document type).
PDF, JPG, or PNG format
Confirm the Document Details
After selecting the document, you may see the file name next to the upload button.
Verify that you’ve uploaded the correct document (for example, a medical certificate if applying for Sick Leave).
Double-check that the document is readable and clear.
Complete the Leave Application
After attaching the document(s), review the leave application.
If everything is in order (leave type, dates, reason, and documents), click the Submit button to finalize your application.
You should receive a confirmation message or notification that your leave application, along with the documents, has been successfully submitted.
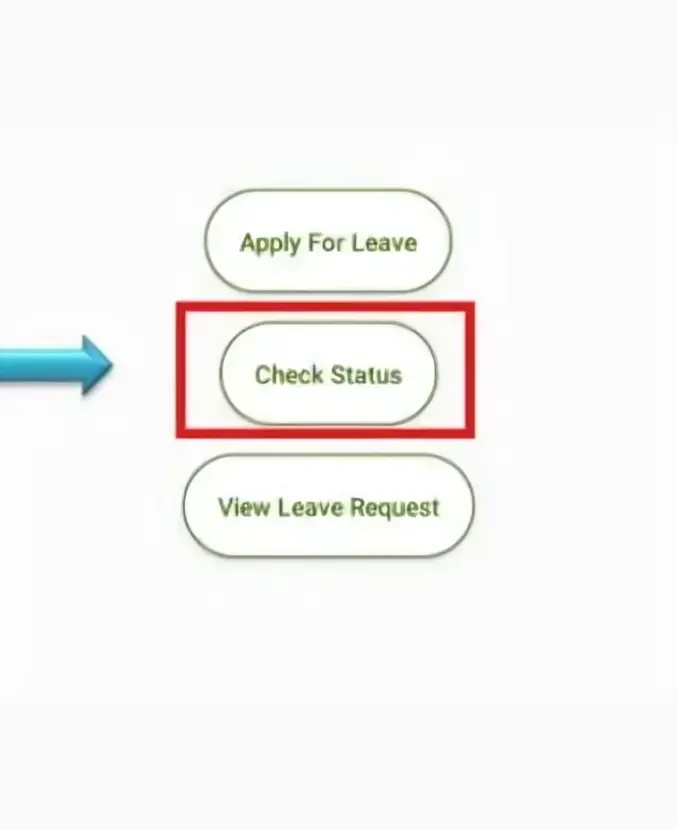
Track the Status of Your Application
Once submitted, you can check the Leave Status section of the portal to monitor the progress of your leave request. If the leave is approved, the status will show as approved; otherwise, it will remain pending.
Tips for Attaching Documents for Leave
Frequently Asked Questions
Final Thought:
Attaching documents for leave in Manav Sampada is an easy process when you follow these simple steps. Just ensure your files are in the right format, the size is appropriate, and everything is correct before submitting. If you face any issues with uploading documents or other aspects of the leave application process, reach out to your HR department for help.
Stay organized and you’ll be able to manage your leave applications without any hassle!


